In recent years, the world of art has witnessed a significant transformation with the rise of digital art. Advancements in technology have opened up a whole new realm of creative possibilities, allowing artists to explore their imagination and create stunning artworks using digital tools. In this blog post, we will delve into the exciting world of digital art, exploring various techniques and tools that have revolutionized the way artists express themselves.
In This Post
I. Understanding Digital Art:
II. Digital Art Techniques:
Digital Painting:
Photo Manipulation:
Vector Art:
3D Modeling and Sculpting:
Digital Drawing and Sketching:
III. Essential Digital Art Tools:
Hardware:
Software Applications:
Brushes, Textures, and Plugins:
Color Management:
Online Communities and Resources:
IV. Challenges and Benefits of Digital Art:
Challenges:
Benefits:
Final Thoughts
I. Understanding Digital Art:
Before we delve into the techniques and tools of digital art, itís important to establish a clear understanding of what digital art entails. Digital art is a broad term that encompasses various forms of artistic expression created using digital technology. It is a fusion of traditional artistic skills and digital tools, allowing artists to push the boundaries of their creativity in unprecedented ways.
Digital art encompasses a wide range of mediums, including painting, drawing, photography, sculpture, and animation. Artists leverage digital tools and software applications to create their artworks, manipulating digital elements to produce stunning visuals. One of the key advantages of digital art is its versatility and flexibility. Artists can experiment with different techniques and styles without the limitations of physical materials. They have access to an extensive palette of digital brushes, textures, and effects that allow for precise control over color, texture, and lighting. With the ability to work in layers, artists can easily make changes and adjustments, undo mistakes, and explore different artistic directions.
Itís important to note that while digital art is often associated with digital devices such as computers, tablets, and software applications, the essence of art remains rooted in the artistís creativity and skill. Digital tools are simply mediums through which artists express their visions, ideas, and emotions.
II. Digital Art Techniques: Digital Painting:
Digital painting is one of the most popular techniques in digital art. Artists use digital brushes and graphics tablets to mimic traditional painting techniques digitally. Software applications like Adobe Photoshop, Corel Painter, and Procreate provide a wide range of brushes, color palettes, and effects, giving artists complete control over their digital canvases. Layers and blending modes in digital painting enable artists to experiment with different textures and achieve stunning visual effects.
Photo Manipulation:Photo manipulation involves altering and combining different images to create a new visual composition. Artists can retouch, enhance, and manipulate photographs using software like Adobe Photoshop or GIMP. This technique allows for endless creative possibilities, enabling artists to create surreal and imaginative artworks by seamlessly merging multiple elements into a cohesive piece!
Vector Art:Vector art is created using mathematical equations to define shapes and lines. Software such as Adobe Illustrator and Inkscape are commonly used for vector art. The advantage of vector graphics is that they can be resized without any loss in quality, making them ideal for illustrations, logos, and graphics for web design. The use of anchor points and curves allows artists to create precise and scalable artwork with smooth lines and shapes.
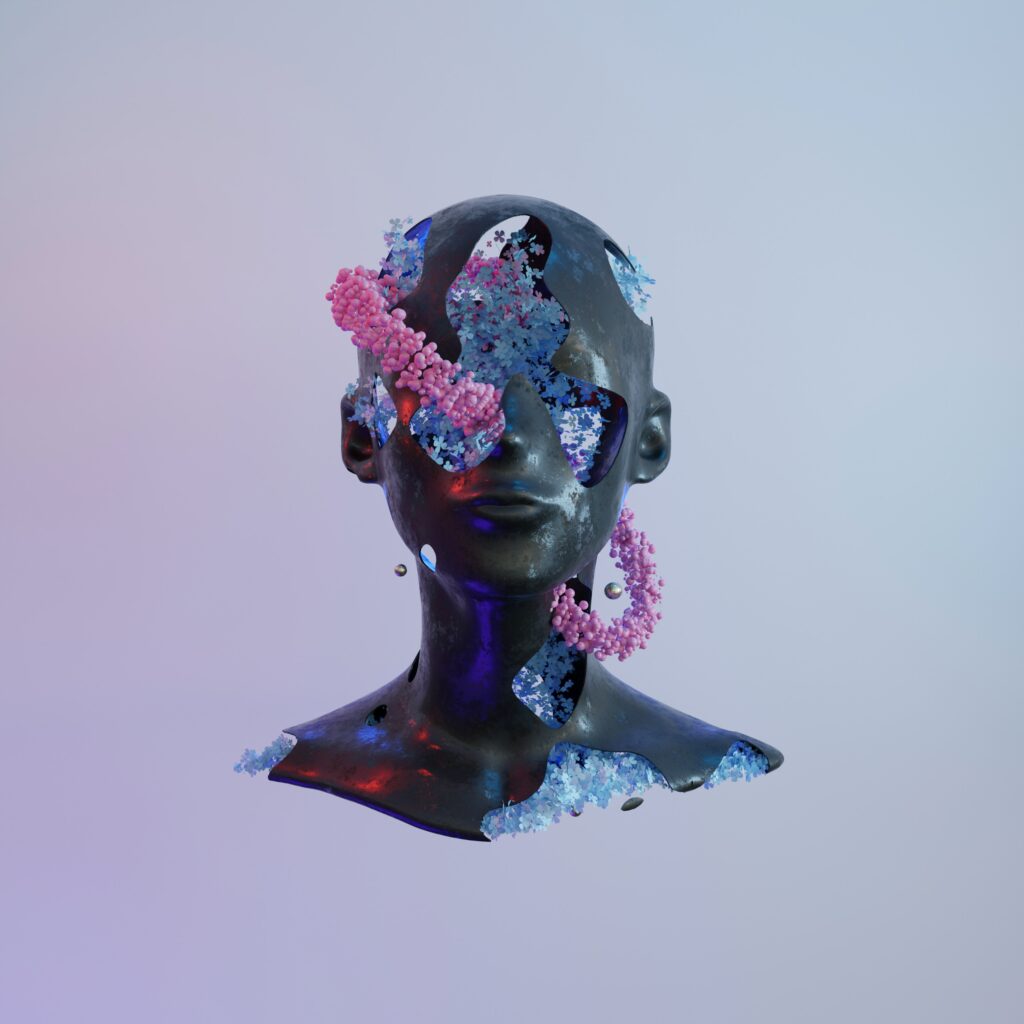
3D Modeling and Sculpting:Digital tools like Autodesk Maya, ZBrush, and Blender have revolutionized the world of 3D modeling and sculpting. Artists can create intricate three-dimensional objects, characters, and environments, giving them complete control over the shape, texture, and lighting of their creations. 3D modeling finds application in various industries such as animation, gaming, architecture, and product design.
Digital Drawing and Sketching:Digital drawing and sketching tools provide a realistic and versatile alternative to traditional pencil and paper. Graphics tablets, pen displays, and stylus pens allow artists to draw directly on a digital canvas with precision and sensitivity. Software applications like Autodesk Sketchbook, Adobe Fresco, and Clip Studio Paint offer a range of brushes and drawing aids, making digital drawing an accessible and convenient medium for artists.
III. Essential Digital Art Tools: Hardware:
To engage in digital art, artists require specific hardware tools. These include a computer or tablet with sufficient processing power, a graphics tablet or pen display, a stylus pen with pressure sensitivity, and a high-resolution monitor for accurate color representation. Investing in quality hardware ensures a seamless digital art experience.
Software Applications:Numerous software applications cater to different aspects of digital art. Adobe Creative Cloud offers a comprehensive suite of applications like Photoshop, Illustrator, and Premiere Pro, while Corel Painter focuses on digital painting. Other popular software includes Procreate, Clip Studio Paint, Autodesk Sketchbook, and Affinity Designer. Artists should experiment with different applications to find the one that best suits their style and workflow.
Brushes, Textures, and Plugins:Digital art software provides a vast array of brushes, textures, and plugins that enhance the creative process. Brushes emulate various traditional art tools like pencils, pens, charcoal, and watercolors. Artists can customize and create their own brushes or download preset brush packs from online communities. Textures can be applied to add depth and realism to digital artwork, mimicking surfaces like canvas, paper, or fabric while plugins extend the functionality of the software, offering additional effects, filters, and tools to enhance the creative process.
Color Management:Digital artists should also pay attention to color management to ensure their artwork appears consistent across different devices and print mediums! Understanding color profiles, using color calibration tools, and working in a color-managed environment is essential to achieve accurate color representation in digital art. Luckily, there are various software applications that provide color management features and support various color spaces, like Photoshop.
Online Communities and Resources:The digital art community is vibrant and supportive, with numerous online platforms where artists can connect, share their work, and learn from each other. Websites like Doodle Addicts serve as hubs for artists to showcase their portfolios and engage in discussions. You can also watch online tutorials and courses, or check out forums that provide valuable resources for artists to learn new techniques, explore different styles, and stay updated with the latest trends in digital art.
IV. Challenges and Benefits of Digital Art: Challenges:
While digital art offers incredible creative possibilities, it also presents some challenges. Artists may face a learning curve when adapting to digital tools and techniques, particularly if they are transitioning from traditional art mediums. Technical issues like software compatibility, hardware limitations, and system crashes can interrupt the creative process. Additionally, the digital realm poses copyright and piracy concerns, as artworks can be easily reproduced and distributed without proper authorization.
Benefits:Despite the challenges, digital art brings several significant benefits. Artists can experiment and iterate quickly, undoing mistakes and exploring different approaches without fear of damaging their artwork. Digital workflows offer efficient editing and revision capabilities, enabling artists to refine their creations easily. Collaboration becomes more accessible, as artists can share files, collaborate remotely, and receive real-time feedback from peers or clients. Digital art also provides opportunities for commercialization, with avenues like online marketplaces and print-on-demand services enabling artists to monetize their creations.
Final ThoughtsDigital art has revolutionized the world of creativity, offering artists new and exciting avenues for self-expression. The diverse techniques and tools available in digital art, including digital painting, photo manipulation, vector art, 3D modeling, and digital drawing, empower artists to bring their imaginations to life. By embracing digital art, artists can explore endless possibilities, connect with a vibrant community, and adapt to the ever-evolving world of artistic expression. So, whether youíre a traditional artist looking to expand your horizons or an aspiring creator eager to dive into the world of digital art, grab your stylus and start exploring the incredible realm of digital creativity. The digital canvas awaits your unique vision!
Source: Doodlers Anonymous.
Original content:
https://www.doodlersanonymous.com/exploring-digital-art-techniques-and-tools/


